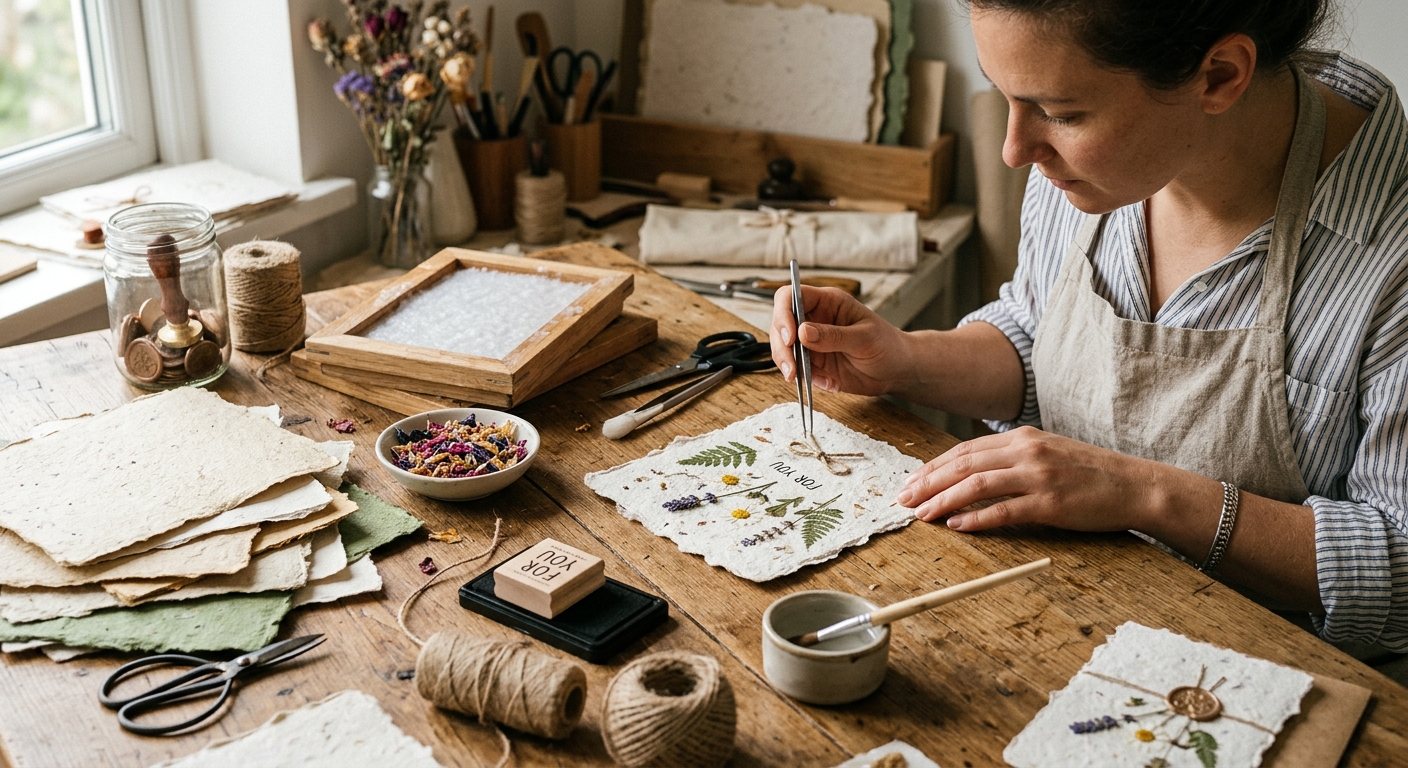
How to Make Handmade Paper Cards That Feel Worth Keeping
The feeling of holding a card made by hand is something a store shelf cannot replicate. You can feel the texture under your fingers. You can see the slight variations in thickness. You know someone spent real time and intention making it just for you. That is what this guide is about: creating paper greeting cards from scratch, the kind that people tuck into drawers and keep for years.
Craft Notes Worth Reading First
Making handmade paper cards brings together the physical craft of papermaking with the art of thoughtful design. You start with raw fiber, form sheets by hand, press and dry them, add texture, and then choose words that match the moment. Each card takes roughly an afternoon from start to finish. The result is something no card aisle can offer: a piece made entirely with your hands, carrying the unmistakable weight of genuine effort and care.
Why Handmade Paper Cards Carry a Different Kind of Weight
Mass-produced cards are designed to appeal to everyone, which means they connect deeply with no one. A handmade card works differently. The slight imperfections in the sheet are not flaws. They are proof of the maker’s hand.
There is also the paper itself to consider. When you make your own paper, you control the fiber, the thickness, and the finish. That control lets you create a card that suits the person receiving it, not the average shopper. Someone who loves nature might appreciate a sheet embedded with pressed fern fronds. A friend with a more minimal style might prefer a smooth, pale sheet with clean edges.
Papermaking has been practiced for over two thousand years, originating in ancient China before spreading through Persia and eventually Europe. The basic technique, suspending fiber in water and lifting it on a screen, has remained largely unchanged across all of that time. What has changed is that you can now do it in your kitchen with basic tools and simple materials.
What You Need Before You Get Started
You do not need expensive equipment to make beautiful handmade paper. Most of what you need is either already in your home or available at a local craft store. Here is what to gather before you begin:
- A mould and deckle (a wooden frame with mesh screen, available at craft shops or easy to make yourself)
- A large tub or basin, big enough to submerge the mould and deckle flat
- Raw paper fiber or recycled paper torn into small pieces
- A blender or hand mixer for pulp preparation
- Two pieces of felt or wool blanket, cut larger than your mould
- A rolling pin or sponge for pressing out water
- Flat boards for the pressing stack
- Optional additions: dried flowers, leaves, threads, or natural dyes for texture and color
If you are new to this, start with recycled paper. Old envelopes, newspaper, or watercolor paper work well. Cotton linter, which is processed cotton fiber, produces a finer, stronger sheet. It is worth trying once you have the basics down.
Choosing Your Fiber: What Goes Into the Pulp
The fiber you choose shapes everything about the final card. Some fibers produce smooth, dense sheets. Others create rustic, textured surfaces. The comparison below covers three common starting materials so you can choose based on the effect you want.
Common Fiber Types and What They Produce
| Fiber Source | Sheet Quality | Best For |
|---|---|---|
| Recycled office paper | Smooth, off-white, consistent | Writing, stamps, clean minimal designs |
| Cotton linter | Strong, bright white, fine texture | Cards meant to last, formal occasions |
| Plant fiber (iris, banana leaf) | Rustic, earthy, irregular edges | Nature themes, botanical cards |
Preparing the Pulp: Where the Card Begins
Pulp preparation is the most important step in the whole process. Get this right, and the rest falls into place.
Tear your source material into small pieces, roughly an inch square. Soak them in water for at least thirty minutes, longer if the paper is thick. Then blend the soaked pieces with fresh water until the mixture resembles smooth, watery oatmeal. No large chunks should remain. If you see them, blend longer.
Pour the blended pulp into your basin. Add more water until the basin is about three-quarters full. The ratio matters. Too much pulp and your sheet will be thick and uneven. Too little and it will be fragile. Aim for roughly one cup of pulp per gallon of water as a starting point, then adjust after your first few attempts.
At this stage, you can add color or texture. A few drops of natural dye, a handful of dried lavender, or some short threads of yarn can all be stirred directly into the water. These inclusions float through the sheet as it forms and create patterns you cannot predict or fully control. That unpredictability is part of the beauty.
Pressing and Drying for a Sheet That Holds Its Shape
This is where your card takes physical form. Work carefully through each step and your sheet will come out even and well-formed.
- Submerge the mould and deckle together, mesh side facing up, at an angle in the basin. Bring them up level, scooping the pulp-water mixture evenly across the mesh.
- Hold level and drain. Gently shake the frame side to side and front to back. This motion knits the fibers together and helps the sheet form with consistent thickness.
- Remove the deckle. Set the mould face-down on a damp felt sheet and press firmly with a sponge to transfer the wet paper from the mesh to the felt. This step is called couching (pronounced “cooching”).
- Lift the mould away. If the sheet has transferred cleanly, lay a second felt piece on top of the paper.
- Press out the water. Stack your felts between flat boards and apply firm pressure using a rolling pin, clamps, or body weight. Force out as much water as possible before moving on.
- Dry flat. Peel the sheet from the felt and lay it on a smooth, non-porous surface. A glass window or smooth board works well. Let it dry completely before moving it, usually overnight.
Resist the urge to speed drying with a hairdryer. Heat can warp the sheet or cause cracking along the edges. Natural air drying takes longer but produces a flatter, more even surface for writing and decorating.
Texture Techniques That Make Each Card Memorable
Texture is what separates a handmade card from a printout. You have several ways to build it in, and they work at different stages of the process.
The first method is inclusions added directly to the pulp. These create texture you can see but may not always feel underhand. For tactile texture, try laying objects on the wet sheet before it dries. A piece of lace, a flat leaf, or a textured fabric pressed onto the surface and peeled away after drying leaves a visible impression behind.
Embossing is another strong option. Once the sheet is dry, place it over a textured rubber stamp or embossing folder and run a bone folder across the reverse side with firm pressure. The paper picks up the pattern without ink. This works especially well on cotton linter sheets, which are strong enough to hold fine detail without tearing.
You can also dye the dried sheet by brushing diluted tea, coffee, or watercolor across the surface and letting it dry again. A light color wash adds warmth and depth without covering the natural fiber pattern underneath. Uneven coverage is not a problem. It looks intentional because it is.
Matching Your Card’s Style to the Occasion
A handmade card is not one-size-fits-all, and it should not try to be. The texture, color, and scale of your card should reflect both the occasion and the person receiving it.
A birthday card for a creative friend might use bright dye, bold inclusions, and irregular edges. A sympathy card calls for softer tones, minimal decoration, and measured wording. A card for a couple deserves particular thought about structure and sentiment, since the words need to carry as much care as the object itself.
Studying classic written forms is genuinely useful here. The tradition of love letters offers a masterclass in how to match tone to emotion. The way those letters use specific detail, honest vulnerability, and deliberate pacing translates directly to any heartfelt card. The goal is always the same: say something real, and say it in a way that only you could say it.
Think about the size and format of your card too. A small card tucked inside a gift feels intimate. A larger, fold-over card allows more space for writing and can stand as a display piece on its own. To fold your dried sheet cleanly, score the fold line first with a bone folder. This prevents cracking along the crease.
Pairing Craft With Words That Actually Land
A beautiful card with weak words is a missed opportunity. The physical object draws the recipient in. The words are what they carry with them afterward.
Write in your own voice. Avoid phrases that feel borrowed from other cards. Instead of “wishing you all the best,” say what you actually mean. Recall a shared memory. Name something specific you appreciate about the person. Ask a question that shows you have been paying attention to their life.
“The best writing on a handmade card sounds like the person who made it. That coherence between the physical object and the words inside is what makes it worth keeping.”
Format matters more than people expect. Short lines feel deliberate. A card is not an essay. Leave white space. Let each line breathe. If you are uncertain what to write, draft it on scrap paper first, then transfer the final version in slow, careful handwriting that matches the care you put into making the card itself.
Ink choice is also worth thinking about. A fine-tipped pen with archival ink sits cleanly on handmade paper. Felt-tip markers can bleed into fibrous sheets. Always test your pen on a scrap piece of your handmade paper before committing to the final card. One test sheet saves many ruined ones.
From Your Hands to Someone’s Drawer
Making a handmade paper card is a slow act in a fast world. Each step, from tearing the fiber to pressing the pulp to choosing the right words, is a small investment of attention. The person who receives it feels that investment without needing to be told about it.
You do not need to be a professional artist or an experienced papermaker to make something worth keeping. You need patience, a few simple tools, and the willingness to slow down long enough to make something that cannot be ordered online. The slight irregularity of the edges, the faint impression of a pressed flower, the handwriting that took three attempts to get right: all of it becomes part of the card’s meaning.
Start with one sheet. Make a card for someone you have been meaning to reach out to. See how it feels to hand over something you made from raw material with your own hands. Then make another. The process gets easier, the cards get better, and the habit of making something real for someone you care about turns out to be one of the more satisfying ways to spend an afternoon.


Post Comment